Showing posts with label howto. Show all posts

Sunday, August 5

Hairstyles Easy Updos 10 Min Hair Tutorial

Easy Updos sexy bedroom hair
Here are two very easy updos that you can do within 5 to 10 minutes.  This look is timelessly beautiful and it's one of those pretty and girlie hairstyles that will never go out of style. Moreover, the messier you can manage this hair do, the better and sexier it will look on you.   Who wouldn't like a sexily tousled hair updo?   


To achieve this bedroom hair, first, if your hair isn't already wavy or curly, you need to curl your hair.  I used my favorite 1/2 inch Cortex Titanium Curling Iron.  On wet hair, you will want to apply some hair Oil , heat protectant (Kendi Oil ), and a hair gel( Matrix Biolage Gelee ) or mouse of some sorts if your hair can't hold a curl without it, most Asians will need a gel of some sorts.


 Tip:  Always use a tighter curling iron for updos because it makes managing the hair easier, even if all of your hair will be tucked in, you still need to curl your hair.

You can watch this hair tutorial on my Youtube Channel, which will be posted on the bottom of this page.
Curly hair updos tutorial how to do a easy updo in 5min

1) Tease your hair.  Your hair pins need something to hold onto, so tease your roots, and everywhere else too!  Especially if you have fine or virgin hair (  hair that has not been chemically processed by color, relaxer, hair perms, etc).  To put it bluntly, damaged hair is easier to do updos on. 
long wavy dark hair teased sexy looking hairstyling collage

2) Messily pin up the top - crown area.  ( I never realized what bitchy expressions I had without circle lenses on!! ).  I look so mean and bitchy, like some spoiled brat omg *cringe*.  LOL I'm my own hater ... Ahem anyway.....

hairstyles collgae long curly hair updos weddings bridal bedroom hair
3) Start grabbing the hair from the sides of your head, and twist and pin them in the back in a braiding formation/pattern.  Make sure you loosen and fluff the twists so that it looks soft and not tight.   If you see a bit of frizz, that's perfectly fine.   We're going for that mussed bedroom hair, easy updo...

Hairstyles collage youtube video hair tutorial easy half-up updos long wavy hair

4)  You can leave it like this - a simple easy to do, half-up updo or do the whole head.  Continue grabbing the side hair in chunks and twist or/and braid them before pinning them down.  Make sure you always fluff, tease, and loosen the curls.

Hairstyles collage updos sexy tussled hair quick and easy tutorial
 5) After you've pinned up all your hair, tease and fluff the hair around your face to make this easy updo softer and wispy looking. If you notice any long stringy hair that you missed, simply twist and twirl them around your fingers before pinning them up as well. 

Finish Product Used:

Best Hairspray for Updos:  Shaper
Best finishing Oil Serum at the moment - Chi Enviro Smoothing Serum (but hard to find)


Quick and fast updos hairstyles


I hope you try this easy updo, hairstyles should always be this easy and effortless. 

Don't forget to subscribe for more tutorials like this!  Thanks for reading!  See you guys next week!!

Check out my new Blog dedicated to hair - Hair Ups (not U-P-S - omg what the hell  was I thinking naming it Up's lol) .   

Forgot to mention:   I screwed up my blog's template so until I figure out how to fix it, the comment tab "might" be at the top of this page -- ... 

French Braid with Waterfall Braid hair tutorial

Get this look Boho French Braid with Waterfall braided bangs tutorial on my new blog. 


Watch this tutorial on YouTube. :)


Monday, July 30

Hairstyle with Braid - Wedding Updo, Bridal Hair Idea

Hairstyle with Braid wedding updo look Hairstyles with braids will always be timeless, modern, chic, youthful, romantic and weaving in some  pretty white flowers into the braids will  instantly turn it into a wedding-bridal updo look. 


 Please note that my mannequin's hair is quite thin  and black, which therefor, does not show hair textures very well in photos, like blonde hair.  Moreover,  her hair line and  is different from our own so her scalp will be more noticeable in the photos.

I ran out of black bobbi pins in the middle of this hair tutorial so you might see a blond bobbi pin here and there, sorry! lol...


My hair parted for wedding updo look
I started this blog with the intention of doing it on my own hair....then I realized, I couldnt take photo's with both of my hands busy...And this is why I ended up doing it on my doll.  Anyway, if you look at my hair parting in this photo, that's what it should look like.


Before Bridal hairstyle
Doll before photo

I didn't curl my mannequin's hair because she's not going anywhere, but you should always start off by curling your hair with a curling iron (1/2 inch rod - you want the curls tighter) for any updo hairstyles.  This will make it easier for you to manage your hair while braiding and pinning.


Section off your hair: Crown, sides.

Grab the back crown area and tease the roots and create a bird nest - (leave the hair in front alone, we will be braiding that into the side later)

teasing braid hair style
After you tease the hell out of the roots, gently comb the top layer and start braiding it very loosely from mid shaft to the ends of the hair.  We're going for that  "Bohemian braid style".  Loose and carefree.  Tie it with a rubber band.

Bohemian braid hairstyle
Next, you're going to create a french braid on each side of your temple (leave the top alone - we do this last - note my red clip), going  towards the back of your hair, stop and pin it up when you get close to the middle braid.  When both sides are braided, then you will connect all three braids - meaning, now you're going to use those 3 braids to create 1 fat braid.

For clarity,  side temple braid  ---- crown braid ---- other temple braid == created one funky looking thick braid.  (this adds texture to your updo hairstyle)

hair style with briads

Now, grab the lower parts of the front sides and braid that towards the back of your hair - do this on both sides.  Try to create a tight braid for this area because it will make your head shape more attractive. Pin it back when you get to the end.


Bohemian braid hair style
This is where you start creating loops, curls and more texture.  Hairstyling is a lot like sculpting, you create shapes piece by piece and pretty much do what looks right.
twist braid hair style

loop braid hairstyle updo


wedding up do hair

Mixing into this hairstyle different types of hair braid.
cute hairstyle with braids

Grab the hair in the back, piece by piece, create different types of braids, and pin them up, down, side ways.  Then the last piece will be wrapped around the long tail.  That long piece on the side you see is the crown/front hair, which we will do next.

hairstyle wedding idea with braids
I'm quite fond of Taylor Swift's side swept updo styles, sweep the hair to the side and start braiding it back.

Hair braiding hairstyle
Pin it back into the cluster of braid hairstyle you have going on in the back.  You can rope it, tie it, make it as funky as you want.  Loose braids look better..


hairstyle with braid  updo Taylor Swift side swept bangs

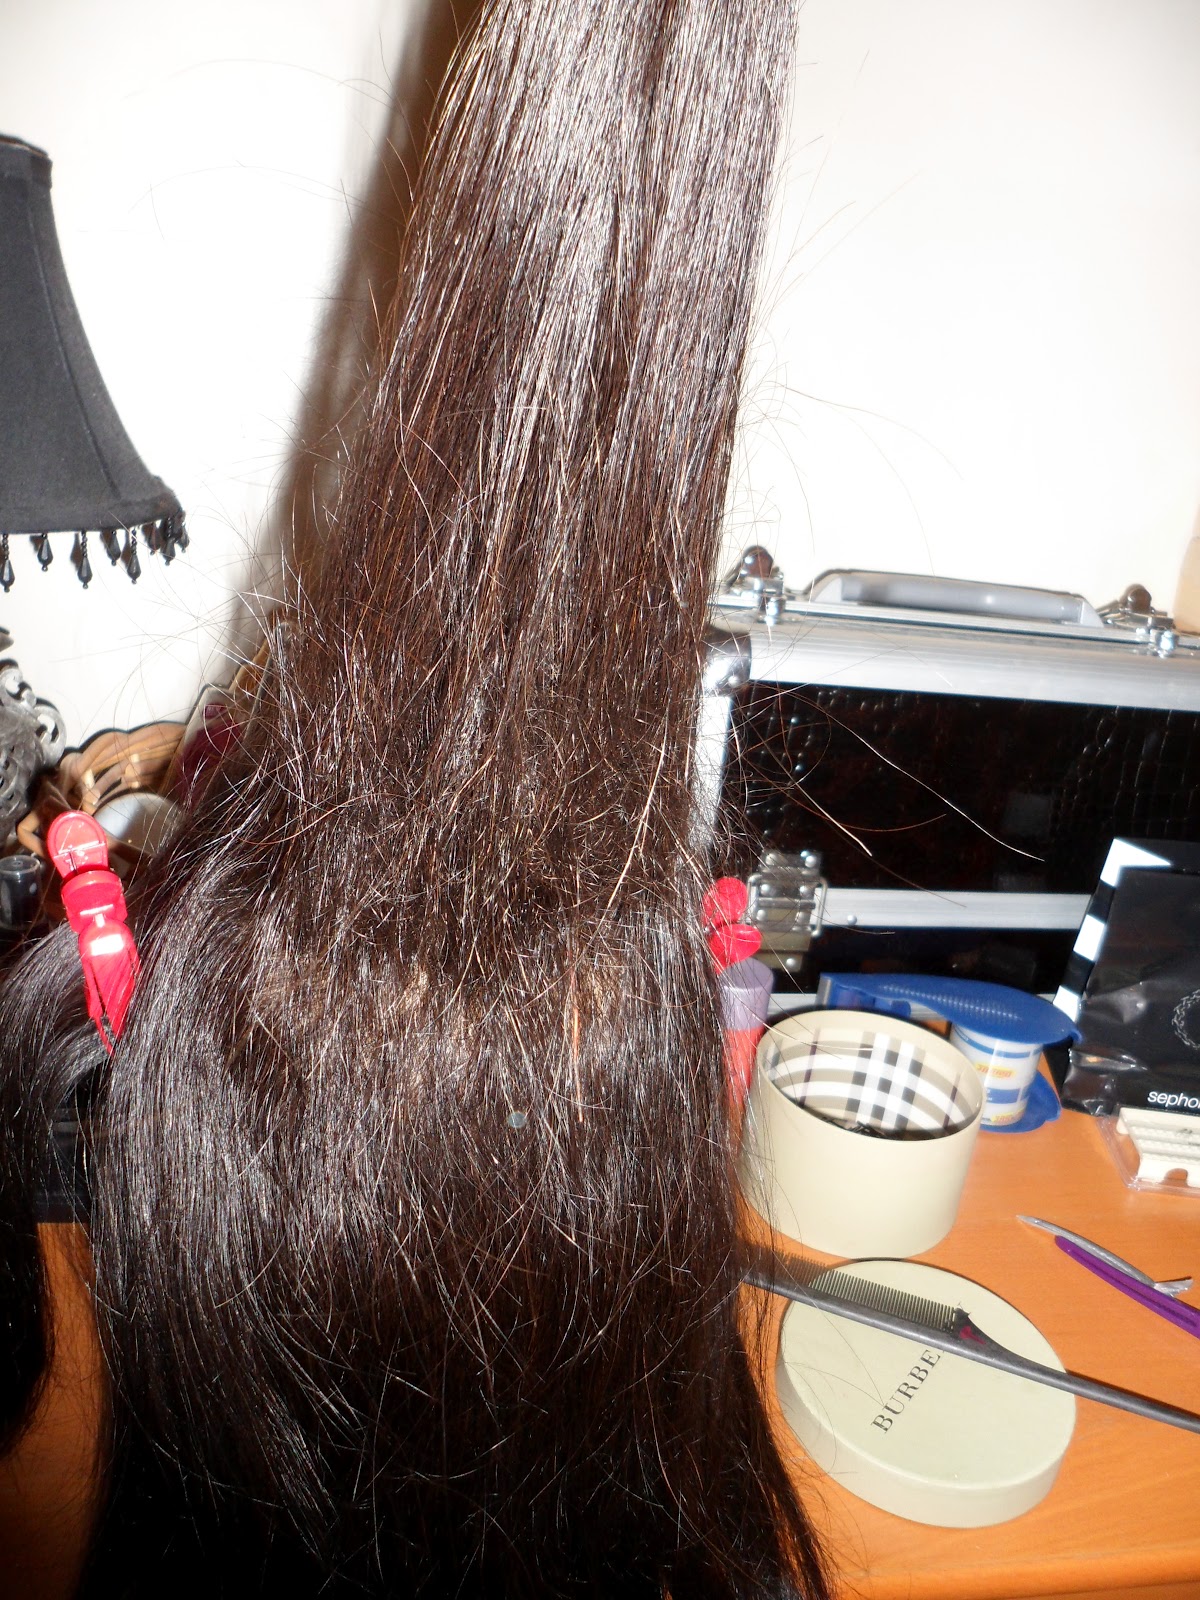
We're done!  It's not attractive to have a stick straight, thin looking tail hanging down your back, so either tease that hair and fluff it up (photo below), curl it, or tuck it in if it's too sparse.

The white hair spray that you see in my photos is my Holy Grail item, I've loved it for 10 years..  Sebastian Shaper Hairspray makes your hair feel like hair,  and has a matte finish.  You can spray the whole effing bottle and your hair will still feel soft and moveable.  It's the BEST updo hairspray you'll ever own, because it doesnt make your hair stiff, or shiny as if it's wet.   Maybe I notice things like this because I'm a pro, but I hate it when people mess up a perfectly nice updo with a bad hair spray that makes your hair look... well, like you used a whole bottle of gel on wet hair. 


wedding bridal updo hairstyle tutorial


Thanks for reading, don't forget to sub, take care! :)


Are you using the correct Straightening or Curling iron for your hair type?  Read my post about Hair Irons here  -- Ceramic and Titanium and other Irons.

Learn how to do this Chignon Updo at my new hair site.


Friday, July 27

How to Apply Fake Under Eye Lashes with Individual False Lashes

If you've ever wondered how you can apply some natural looking fake under eyelashes like those supermodels who wear them so effortlessly , then this blog might pique your interest. 

Although there are two kinds of lower eye falsies - Strip & Individual,  today, I'm going to discuss the individual kind, because it looks terrific on everyone and  anyone can get away with them on - at anywhere, any time, from the most conservative boardrooms to the raunchiest whorehouses, this is one skill worth learning.

Scroll down this page if you would like to watch my "How to Apply Fake Lower Lash Tutorial" on Youtube.  :)

(I'm not wearing false lower lashes on the left photo - and Yay for Beauty Shot option - no pores!! Luv my Samsung PL120 xoxo)

  Individual fake lower lashes are trickier to learn in the beginning because it's so incredibly time consuming to master. But really, it's all in the wrist movement, my beauties.  Once you get it, you got it and it will take you literally 30 secs to get them on in the morning, so have patience! It's well worth the struggle to learn.   But first, lets go over some ground rules.


 In the following photo, *MY* right eye is done comically wrong (I was  quite appalled and horrified at what I had done when I saw myself rofl  -- but I refuse to redo it just for a photo..pfft..), but left eye is fine.   Life is so funny, in my late teens and early 20s, this is when I was completely self absorbed, I would never have even  considered posting  a photo that made me look like I had applied my makeup in a drunken stupar.....

This  is what happened: I was filming for Youtube and was too busy trying to look cute AND the closest damn mirror was 5 yards away because I had to sit REAL close to the camera - like, look up the nose close distance for the eye shot..  Do you know how SMALL mini lashes are?

It's a freaking miracle that I didn't stab myself in the eye and go completely blind and stupid, seriously - maybe I could have even sued Youtube then! haha  ......Watch and sub me <3!

I used a total of 6 individual lashes on each eye, look how natural that ONE eyeball looks (because I finally woke up and grabbed a friggin' hand mirror during filming so I could finally SEE - hallelujah!) muahhaha  hehehehe! ^_^


Anyways, the rules:

Photo without false under eyelashes
1)  Finish your makeup first - lower lashes always goes on last.  This includes mascara too, because you will not apply mascara to false lower lashes, this is one area where you do not want caked on makeup - If you want more drama, then you can apply it to the root area with a light hand.

Please do not apply mascara to the lower lashes (I know I'm being redundant here, but I've seen too many people ruining a perfectly good lash application with mascara), it might turn into ugly spider leg lashes if you don't know what you're doing!.. *shudder*

2) Always try to apply the fake lashes right under your natural lashes, or right next to one. This looks more natural then sticking them on top.

   On a shoot, a paying job, you can get all picky and technical by lifting the lower lash hair with a Q-tip and apply it one - -- -- by  - -- -------- - one.  This is acceptable. Why?  Because you're getting paid to be damn perfect, and you better BE perfect.  However, at home...C'mon guys, no need to make a huge fuss out of it - it's only lashes, not heart surgery.  Just slap it on.

 But of course I just told you how you CAN get crazy picky, just use a Q tip to lift the lashes up (I dont like tweezer's near the eyes because accidents CAN happen, y'know..).

3) If you fuck up, and you want to *fix* it,  DO NOT apply  makeup remover to remove the false lashes.  Instead, use an oil based lotion on a Q-tip and gently rub the glue/lash off. Afterwards, gently remove that lotion off with some water, so that it doesn't disrupt your makeup/primer/glue formulation.  If you had applied a remover, chances are that your glue and makeup will wear off sooner from the chemical residue from the makeup remover...

4)  It's easier when you allow the glue to get REAL sticky.

5) Do not attach it to your waterline.   The lashes might end up rubbing on your eyes and cause some serious damage.


APPLICATION:

1) Put on all your makeup.

2) Squirt some Duo glue on something - back of your hand, legs, etc..anything a min or two before you're ready to start applying the lower eye falsies.

2) Grab some false under eye lashes or any lashes that you want - I'm quite fond of Dura Lash by Ardell - Flare Mini Black.

3) Now, how you hold the lash case is key.  Look at the photo below - the flare part is at the bottom.
That's how you should  hold it in your hand if you're doing the bottom lashes,  so that in 1 swing, it lands perfectly on your lash line without you having to juggle.  
If however,  you were attempting to to apply the top individual lashes, then you will hold it upside down (flare at the top). It's as easy as one, two, three ...
Watch my Youtube video to see my lower lash demonstration.

How to Apply False Lower Lashes
How to Apply Fake Lower Lashes
(just FYI, med flares are very  LONG - I wouldn't apply this under the eye unless you're a camel)

You hold the box in one hand and your tweezers should be held horizontally (note red tweezer photo),  and in this position you will  remove the lashes from the case,  then apply it to your eye.  If you've done it correctly, your hand position will  align perfectly to your lower lash.

4) Grab a lash from the case.  Now, THIS is the hardest part.. these are some tough suckers to pull out...serious

5) Dip the lashes in glue, make sure that the lash glue is not runny and watery.  I can't stress enough how much easier this is if the glue is tacky.. like thick, rubbery consistency.  I would take a photo to show you but knowing MY skill in photography...er..

6) Apply as many as you like, and start from anywhere.  I personally always start in the middle. 4~6 is enough for me, because I like it light but if you like drama, feel free to add more.  Moreover, you can always mix and match by adding the longest to the middle (round eye) to shorter on the edge.  Additionally, you can also add lots of short pieces in the lower wing area  to create more drama and cat like sex appeal. 

Favorite false EyeLashes

My fav lashes are Ardell and Gypsy Indivisuals, usually knot-free. And my nails are chipping already, applied it new two friggin days ago!

7) When the glue has completely dried, you can touch up/apply shadow liner, liner, or mascara to the roots.  I  used some dark shadow to darken the lashes on my Youtube video, and to draw more lashes manually with my R&L brush so that my false lashes will blend in better.

Products Mentioned:
Dura Lash by Ardell  in Flare Mini Black (what I used on my Youtube)
or buy in bulk  Dura Lash by Ardell  in Flare Mini Black.


Go to their Twitter for discount code + Add FREEBIE in the "MESSAGE BOX" if you spend more than $20 for one free lashes.

Good Tweezerman. 
Or La Cross Tweezer

Duo Glue
 Samsung EC-PL120 My Digital Camera with beauty shot
Gypsy Lashes
R&L Brushes 


Learn a makeup trick from my previous blog,"  How to Make Your Eyes BIGGER ".